Microfinish Overlay Remodel


A new generation inherited this classic home on S. Peak Rd. in Rollingwood. As is often the case, there was a lot of updating to do to the surfaces before anyone could get excited about moving in. When funky carpet and vinyl has to come out, there’s a choice to make: element7concrete or more future-garbage.
Craig Parker Homes, specializes in whole house remodels.
“An overlay is a much better value than tile and it has a really nice look with no grout joints to clean. It’s a great alternative to tile. In five years tile will go out of style,” - Craig Parker.
We couldn’t agree with him more.
As the decades come and go, so do tastes in flooring. This floor was covered in everything from carpet to terrazzo tiles, vinyl and possibly even asbestos tile. Since asbestos can be harmful if the fibers are breathed in, “The best way to deal with old asbestos floor tiles is to cover them up,” according to Tom Silva, of This Old House.
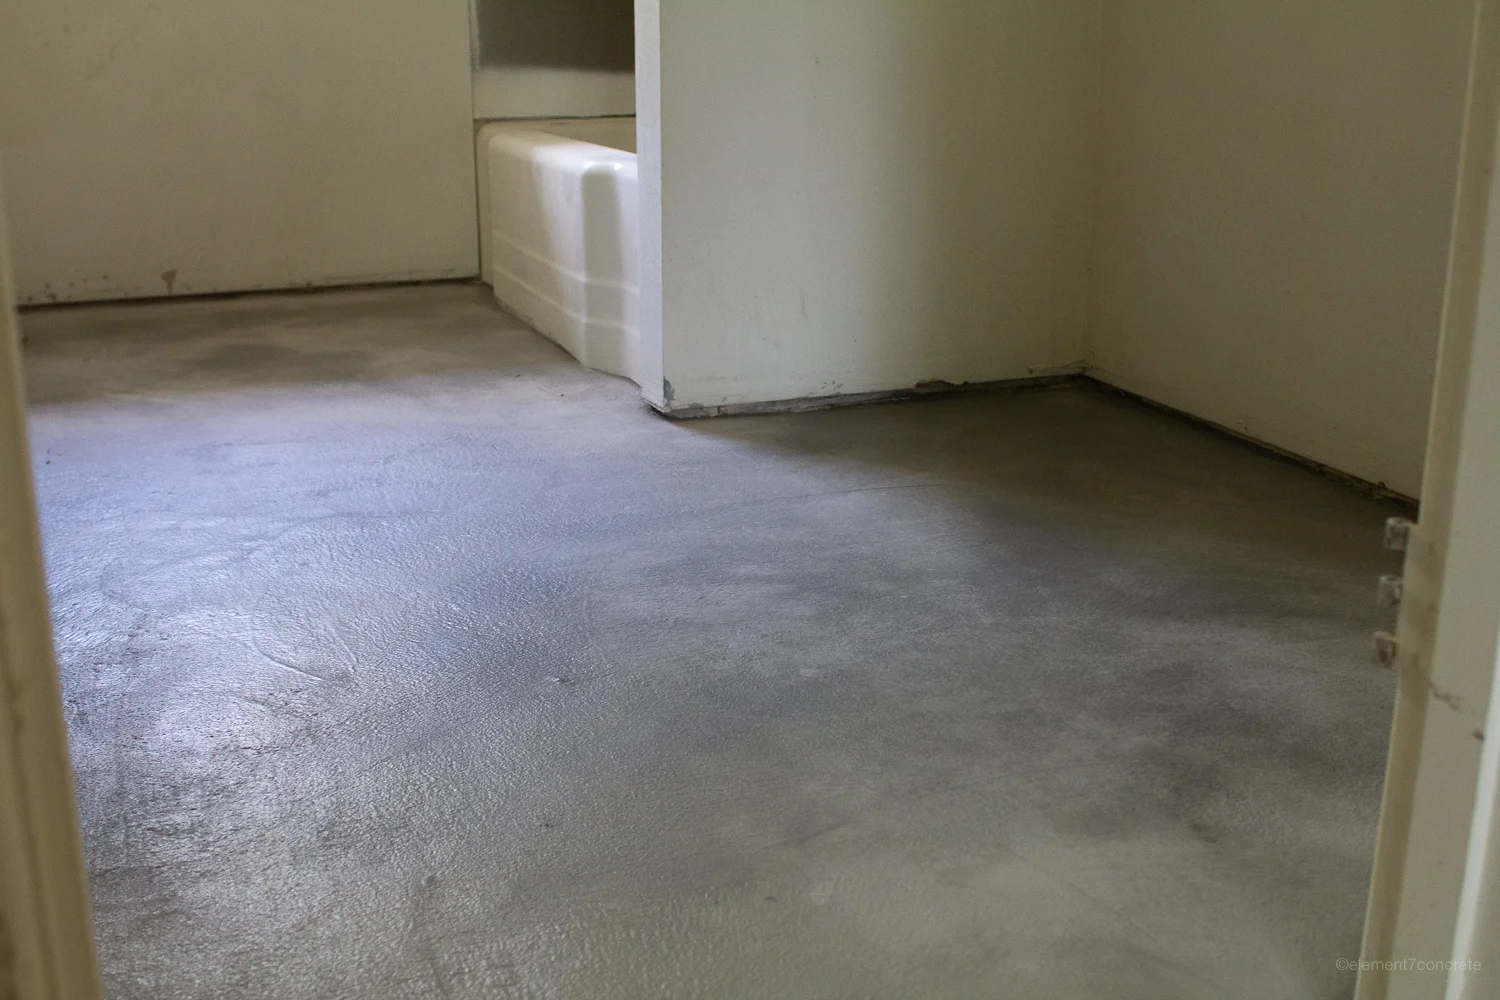
This series of images, from the multi-day project, shows the entire floor remodel process start to finish.

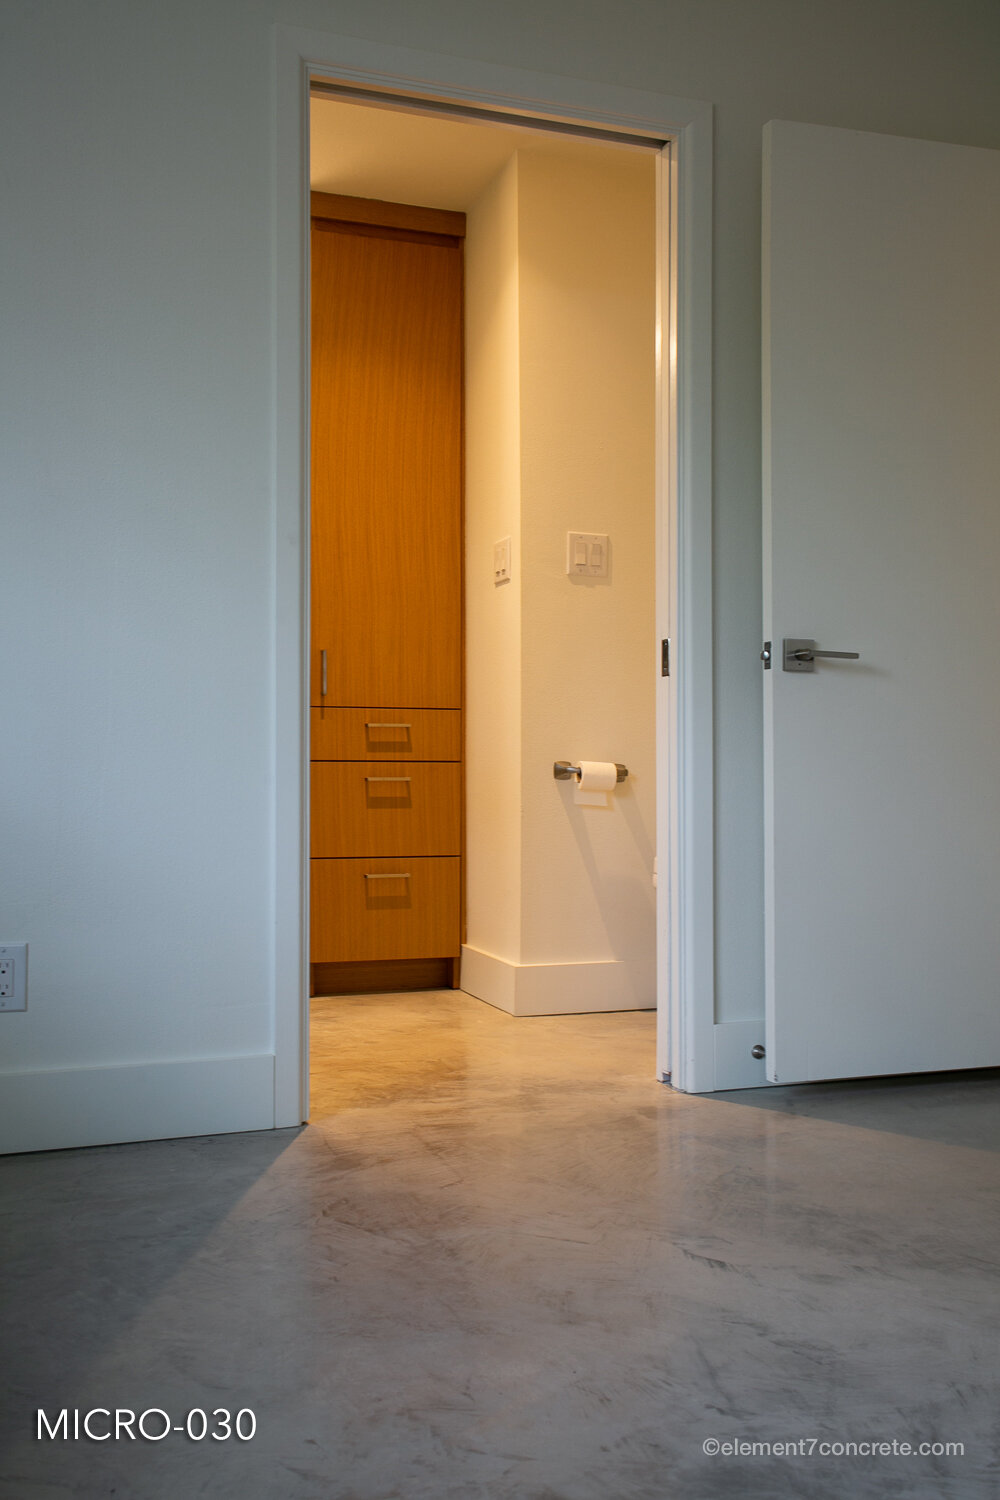
Microfinish
An overlay


Day 1
Diamond impregnated blades on angle grinders cut cracks to around 3/8” to accept repair materials. The concrete is ground with metal-bonded diamond abrasives on heavy machines to remove mastic and make it rough. Subtle ramps are created with concrete to build the floor up to nearly level while not losing the 3” one would if capping the whole floor with concrete. Many of the patches are best done by installing materials proud to be ground flush the following day.
A special epoxy that bonds to a wide variety of materials is applied to encapsulate the tile in the bathroom.


Days 2-3
More preparation: all the patches, put-backs and crack treatments that were installed proud are ground flush. In the bathrooms, where the questionable tile was primed the previous day, 16 mils of 100% solids epoxy is installed and sand is broadcasted into it “to rejections”. This creates an ideal surface to completely encapsulate the tile and yet still bond to the cement-based materials.

Day 4
With the epoxy fully cured, we vacuum up the excess sand, saturate the surface with water. and install a “scratch-coat” of THIN-FINISH™️. That is a polymer-modified mortar that boasts extremely high flexural and tensile strength for a cement-based material. That means it goes on very thin and does not crack over time like traditional “polishable” overlays


Day 5
Again we saturate the floor with water and installed a steel-troweled coat of THIN-FINISH™️. The saturated-surface-dry condition keeps the material from losing its water to the substrate too quickly. That’s no good as hydration stops when water runs out, and hydration is what makes cement-base materials cure out to their potential strength.

Day 6 and 7
The THIN-FINISH™️ is honed with 100 then 200-grit abrasives. We clean and get the surface saturated yet again. We then steel-trowel a coat of MICRO-FINISH™️. The next day, that is sanded, polished, and another coat of MICRO-FINISH™️ is installed.


Day 7
Here’s where the secret sauce is applied! Instead of coating cement-based overlays, we chemically harden them and apply impregnating sealers. It frankly took a lot of experiments at our studio to get this process perfected, but there are 3 great reasons we pursued this to mastery.
For one, coating an overlay means resisting the force of moisture vapor transmission, so this is more resistant to peeling off in all situations. (link to further study here).
Secondly, floors have to be serviced. Moving everything out of a finished home every few years to re-apply a sealer or coating is not a business anybody wants to be in. Melting stain-guard into concrete with a burnisher can be done in sections more easily.
Lastly, it’s much more charming. Lacquered masonry work is not our style. We bet it’s not yours either.

